Raising the Bar: A Complete Guide to Styling and Using Your Home Bar Unit
Gone are the days when hosting meant awkwardly mixing drinks on a crowded kitchen counter. Today, a dedicated home bar unit is a centerpiece of modern hospitality. Whether you have a sprawling built-in counter or a compact, rolling bar cart in the corner of your living room, your bar unit should be an inviting blend of form and function.
Here is how to style your bar unit like an expert and use it to elevate your entertaining game.
1. Choosing Your Canvas: Types of Bar Units
Before styling, you need to understand the furniture you are working with. The type of unit dictates how much you can display versus what needs to be hidden away.
-
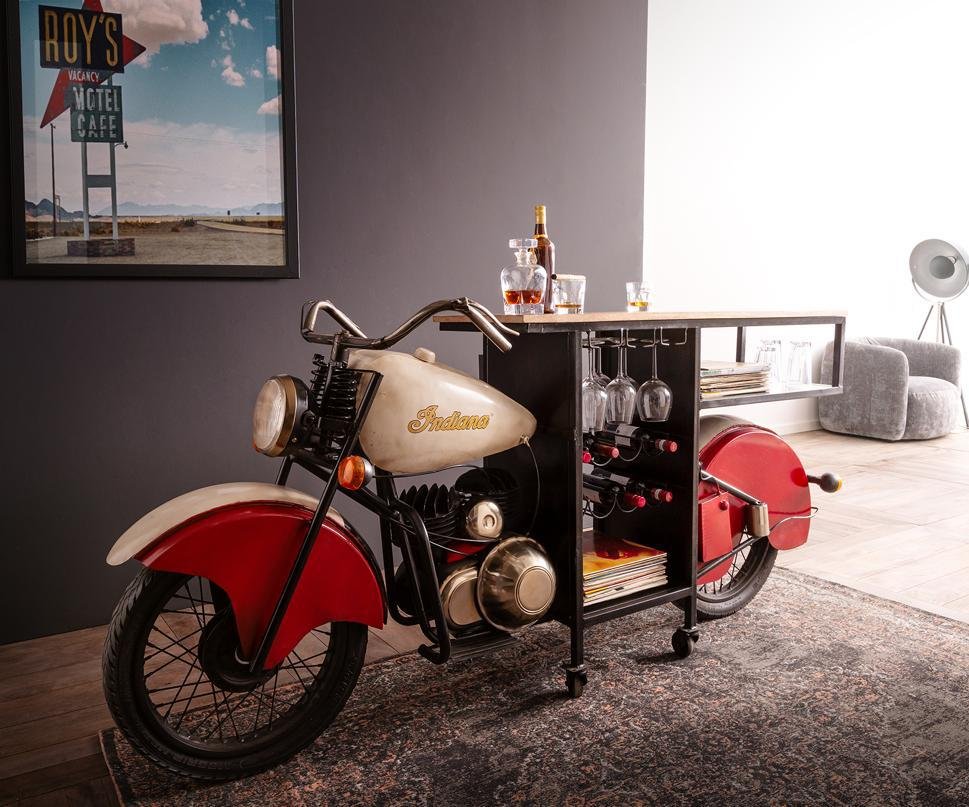
The Bar Cart: Mobile, visually light, and perfect for compact apartments. Because everything is exposed, curation is key. Only display your best-looking bottles and glassware here.
-
The Bar Cabinet (or Tallboy): Offers the best of both worlds. You can close the doors on half-empty mixers and mismatched glasses, keeping only a curated selection on top.
-
The Built-In Bar: The ultimate luxury. With dedicated counter space, wet bar capabilities, and extensive shelving, you can treat this like a professional setup.
2. Styling: The Art of the Display
A well-styled bar unit looks intentional, not like a dumping ground for leftover party supplies.
-
Employ the “Rule of Three”: When arranging items, group them in odd numbers (typically threes). Group a tall bottle, a medium-sized shaker, and a small bowl of citrus garnishes together. This creates visual interest and balance.
-
Mix Materials and Textures: Break up the sea of glass bottles by introducing different textures. Add a marble cutting board, a warm brass ice bucket, or a stack of textured linen cocktail napkins.
-
Bring in Life: A bar can look cold with just glass and metal. Add a trailing houseplant (like a Pothos) on the top shelf, or keep a small vase with fresh flowers or eucalyptus leaves next to your tools.
-
Use Trays to Anchor Items: If you are using the top of a cabinet or a large built-in, use decorative trays (mirrored, wood, or leather) to corral your bottles. It instantly makes a scattered collection look like a deliberate arrangement.
3. Usage: Equipping for Real-World Hosting
Styling is only half the equation; a bar unit must actually work when the guests arrive.
-
The Essential Tool Kit: You don’t need a commercial setup, but you do need the basics. Keep a high-quality cocktail shaker, a double-sided jigger (for accurate measuring), a long-handled bar spoon, and a muddler easily accessible.
-
Glassware Essentials: Avoid cluttering the unit with every type of glass. Stock up on two versatile workhorses: Double Old-Fashioned glasses (for neat pours and short cocktails) and Highball glasses (for tall mixed drinks and mocktails). Store delicate wine glasses upside down on racks if your unit has them, or keep them safely inside the cabinet.
-
The “Mocktail” and Mixer Zone: A great host caters to everyone. Dedicate a specific section of your unit to non-alcoholic options. Display artisanal tonic waters, a beautiful bottle of flavored syrup, and a bowl of fresh garnishes (lemons, mint, or dehydrated orange wheels).
4. Lighting: Setting the Mood
Lighting can make or break a bar unit. You want to highlight the reflective surfaces of your bottles and glasses.
-
If you have a cabinet or shelves, install inexpensive, motion-sensor LED strip lights underneath the shelves.
-
For a bar cart or the top of a cabinet, a small, cordless, rechargeable table lamp provides a warm, intimate glow without the hassle of hiding ugly wires.
Pro Tip: Keep the highly perishable items (like vermouth, dairy-based liqueurs, or open syrups) in your refrigerator, not on the bar unit. Only bring them out when it is time to serve. Keep your bar unit reserved for spirits that thrive at room temperature.